

Via the new Chrome extension:
1. Login to any existing account as you normally would.
2. After you have submitted your credentials to the website, you will see a pop-up from IronVest in the top right corner of your screen indicating that your account was successfully updated.
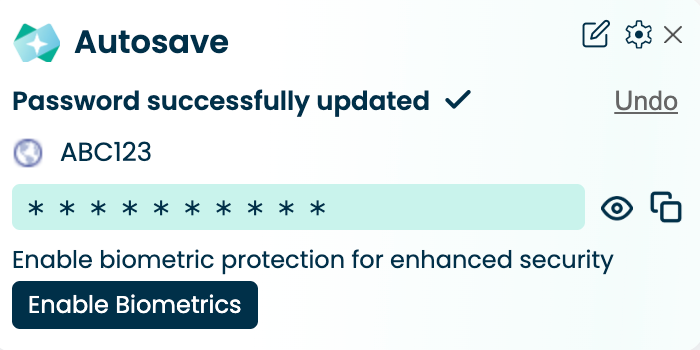
ℹ️ Note: For your accounts to be automatically saved via the Chrome extension, the 'Auto-save account' setting must be enabled. This setting is enabled by default. You can access the extension’s settings by going to the Website Settings here.
Via the Firefox browser extension and older versions:
Login to any existing account as you typically would.
Submit your account login information to the website.
You will see a prompt from IronVest in the top right-hand corner of your screen. Click 'Save this Account' or 'Never for this Site'.
Via the Website:
Go to your Dashboard
Click on 'Logins & Passwords'
Click '+ New' and select 'Create new Account'

Enter the login information for the account you'd like to save.
Click 'Save Login'.
On the mobile app:
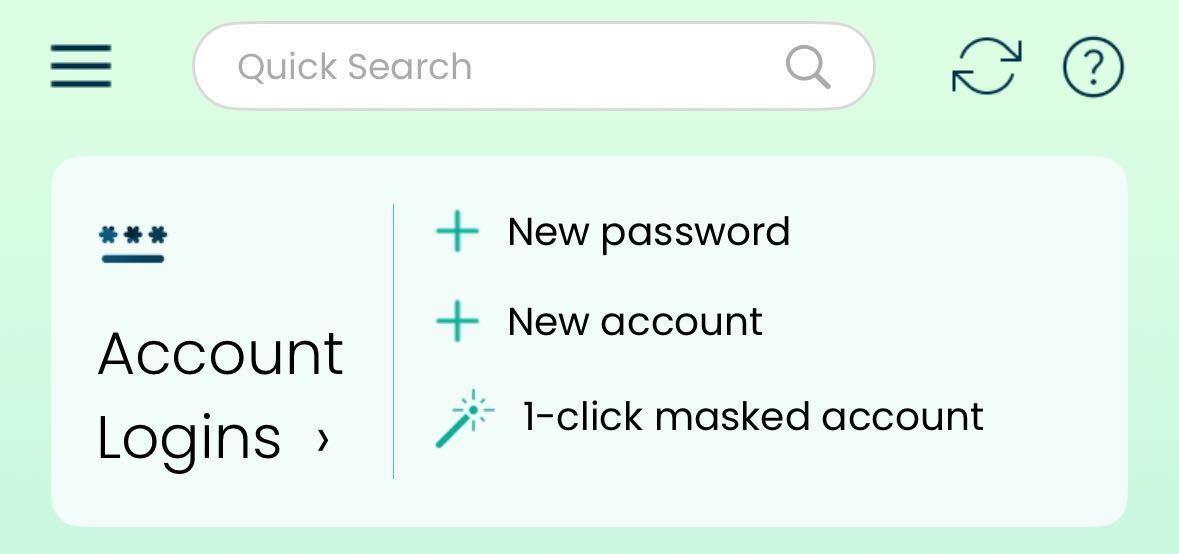
1. While on the Dashboard, tap "+ New account" from the Account Logins section.
2. Enter the login information for the account.
3. Tap 'Save'.
That's it! IronVest has now successfully stored your information and will fill in your account credentials the next time you visit the website. You can view your Account information from the Logins and Passwords section from our website, and from the mobile app by tapping on "Account Logins".